
Spring Bulbs
Using Bulbs for spring and summer color is an almost fool proof gardening technique.
Spring bulbs are so called because they bloom in the spring although they are planted in the fall. For that reason, they are sometimes called fall bulbs. So, spring bulbs and fall bulbs are the same thing.
Summer bulbs bloom in the summer regardless of when they are planted.
Hardy bulbs are those which can survive in the ground for years regardless of freezing or drought. Tender bulbs cannot withstand freezing temperatures or prolonged drought.
What is a bulb?
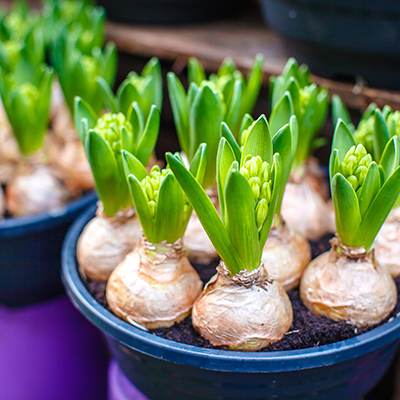
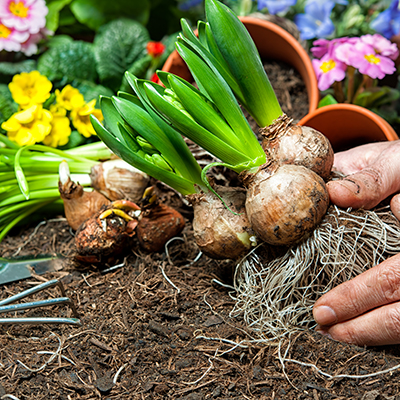
Technically, a bulb is composed of leaves wrapped around each other with a hard pad on the bottom called a basal plate from which roots will sprout and with a flower bud in the center of the leaves. An onion is the classic example of a bulb. Daffodils and Tulips also produce bulbs. The Potato you eat is a tuber, Ginger grows from a rhizome and Gladiolus grows from corms. All of these are different, but to avoid confusion we often just refer to them as "bulbs".
All plants grown from bulbs are perennials and will perform best if given the same care as other perennials. The bulb you buy today came from a plant that was given optimal care and treatment. Consequently, a true bulb already has the flower bud inside and even if you plant it in a less than favorable environment, it will bloom. The first year is foolproof. After that, blooming will depend on the care you give the plant.
If you want to try saving your Tulips, Crocus or Hyacinths, you will have to perform the tasks normally carried out by fall and winter weather. When the plants finish blooming, cut off the flower stalk. Let the leaves remain to continue making food for the bulb and next year’s flower. When the leaves have completely withered, dig up the bulbs, cut off any remaining foliage and shake any loose soil off the bulbs. Store the bulbs in a paper bag in a dry area. The following August remove the bulbs and pick off any dry foliage or bulb scales. Place the cleaned bulbs in the vegetable bin of the refrigerator for 4 to 6 weeks or longer. After this pre-chilling, plant the bulbs as before.
Care of bulbs
Most spring bulbs need about six hours of sun for the best bloom. Some will grow in filtered sun under deciduous trees but will gradually decline and die over the years.
Spring “bulbs”, left to naturalize, should be fertilized three times: at the planting time, when the first greenery emerges and when they have finished blooming. Bone meal is no longer used as a bulb fertilizer. It has been treated to remove all of the nitrogen and potassium and lacks necessary plant nutrients. Bulb Fertilizer is the approved product. After blooming, the faded flower should be deadheaded and the foliage left to ripen. Do not cut off the green foliage, nor stomp it down. It must be left to produce food for the next year’s bulbs.
Planting
Bulbs may be planted individually, but they look best when planted as a group. Daffodils, and Tulips for example, can be planted in a hole 6 to 8 inches deep and 24 to 48 inches across. Master Nursery Bulb Foodis scatted across the bottom, covered with one-half inch of soil and the bulbs placed in a scattered, irregular fashion. Bulbs should be placed no more than eight inches apart. Never, ever plant bulbs in a straight row because they lose their natural appearance. Dutch Iris bulbs can be placed in between the Daffodil or Tulips bulbs and they will come up and bloom after the Daffodils or Tulips are finished. After placing the bulbs, cover them with soil and water them thoroughly. Rocky, clay soil should be amended properly before placing and covering the bulbs. On the Peninsula, plants which have been left to naturalize should not receive any summer water. This prevents bulb decline and rotting. When Narcissus (Daffodils) are planted in, conjunction with other flowering plants which receive summer water, the Narcissus usually dies within a few years.
As a general rule, the depth of the hole should be about three times the height of the bulb. If it is necessary to plant the bulbs individually, dig the hole a depth of three times the height of the bulb, scatter a bit of Master Nursery Bulb Food in the hole, cover with one-half inch of soil and plant the bulb. When the bulbs sprout and break the surface, they should be given a light dusting of bulb food. A third fertilizing should be made when the plant has finished flowering. This will also be your fertilizing schedule for subsequent years.
Post-bloom and over-planting
When the plants have finished blooming, the foliage should not be cut, braided or folded. The foliage must have maximum sun exposure to produce food for the bulb and to produce next year’s flower. Seed pods should be cut off to prevent diverting food and energy to the seeds rather than to the bulb. A light ground cover such as sand strawberry, pansies or alyssum can be grown over the bulb bed and the plants will grow through them each year.
Fertilizing
Bone meal is no longer recommended as a fertilizer for bulbs. Fifteen or more years ago, manufacturers began cooking bones to extract all the Nitrogen and micronutrients leaving little but Calcium and Phosphorous. Today, we recommend Master Nursery Bulb Food which contains all of the nutrients needed by the plants (including some bone meal).
Pre-chilling
Tulips, Hyacinths and Crocus will produce longer stems if they are chilled in the lower portion of the refrigerator for 6 to 8 weeks before planting. They should be kept in a paper bag (never plastic) and there should be no fruit nearby.
Now, a disclaimer: Tulips, Hyacinths, and Crocus should be treated as annuals in the Bay Area. Because we do not get cold winters, these bulbs will not produce well or at all after the first year. Digging them up cleaning them off and storing them in the refrigerator for 2 to 3 months is seldom worth the effort. Therefore, if you want to enjoy these plants grow them in containers and discard them after they bloom.
Other spring bulbs
The previous instructions refer primarily to Narcissus, Tulips and Dutch Iris, but apply equally well to other hardy bulbs such as Grape Hyacinths, Leucojum, Galanthus, Chionodoxa, Anemone or Sparaxis.
A particularly novel and attractive use of bulbs is to plant 2 to 4 dozen Spring Starflowers (Ipheion uniflorum) in your lawn. Scatter them widely. Punch a hole about 2-1/2 inches deep and drop the bulb in. The flowers will bloom in the lawn during spring and the foliage blends with grass leaves during the rest of the year.
Another bonus is that all Daffodil and Dutch Iris bulbs are totally deer proof and gopher proof. Because these bulbs are somewhat poisonous, animals leave them alone. It has been suggested that a ring of Daffodils be planted around your gopher sensitive plants to protect them. Knowing gophers, this procedure is of questionable value.
Daffodils and Dutch Iris do not like a lot of summer water. If you plant them where they get little or no irrigation, they will be perfectly happy. Excess irrigation causes them to rot.
Summer bulbs such as Dahlias and Gladiolus require some of the same treatment, but refer to our Summer Bulbs Care Guide for full instructions.
Bulbs in containers
Yes, you can grow bulbs in containers. Daffodils are probably the most satisfactory. Start with any size container but let’s imagine it’s a 10" terra cotta pot, 9-1/2" deep. Put in about 2" of Master Nursery Gardener's Gold Potting Soil. Sprinkle 2 or 3 Tablespoons of Master Nursery Bulb Food over the soil and cover with about 1/2” potting soil. Arrange 6 to 8 Daffodil bulbs inside the pot. Cover the bulbs with potting soil and arrange 10-12 more bulbs over the first layer and fill with potting soil. Plant a cell pack full of Blue Violas in the top layer of soil. Place the pot outside where it will get sun. The top layer of bulbs will come up first and 2 or 3 weeks later the second layer; all right through the Violas.
You could use Tulips or Dutch Iris. A 6" or 8" pot allows only one bulb layer. Do not mix varieties of bulbs because they will bloom at different times.
When they have bloomed out, make a hole in a sunny garden spot, carefully knock the bulbs out of the pot and drop them all in the hole. Do not separate the bulbs. Fertilize lightly and water well. Tulips go in the compost.
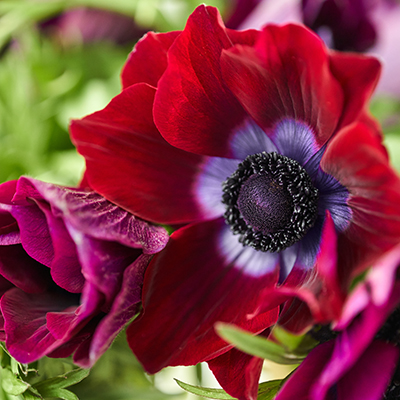
anemone

chionodoxa
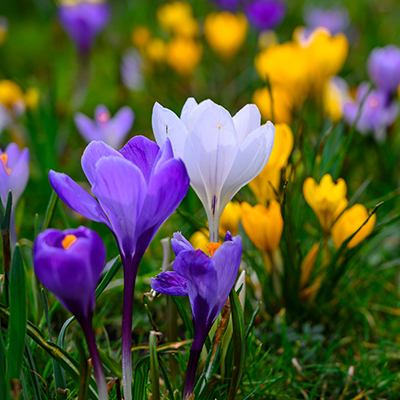
crocus
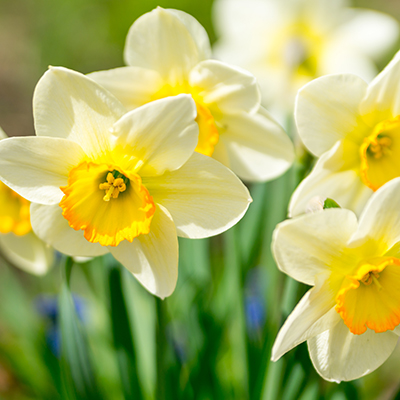
daffodil
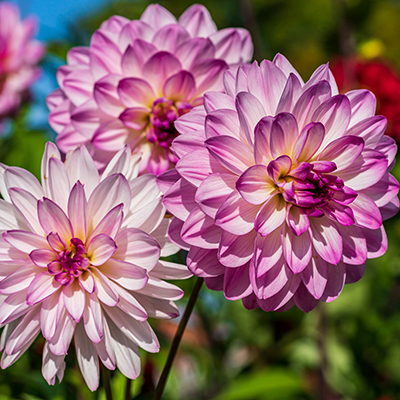
dahlia
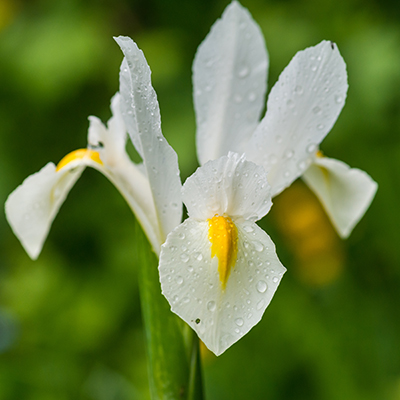
dutch iris
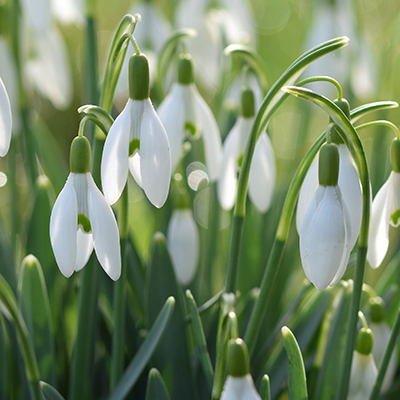
galanthus

gladiolus

grape hyacinth

hyacinth

leucojum

sparaxis
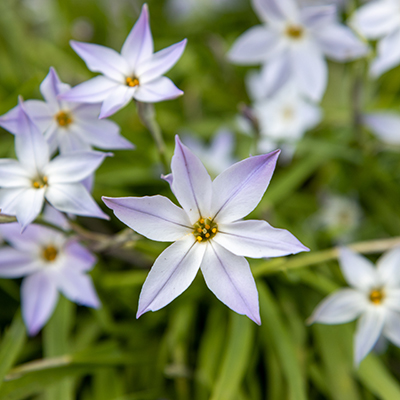
starflower

tulip